Reader setup
Before you apply
Use the lab result as evidence scope, not a universal recipe.
- A disposable VM with no useful disk contents
- The version-status lesson
- Console access to that VM — not only SSH
- What you will prove
- You can explain the two-phase ViciBox workflow, state plainly what this curriculum does and does not promise, and prepare a safe target before running anything.
- Safety boundary
- Phase 1 erases the selected disk. Do not use a workstation, an existing server, or a VM whose disk holds anything you need.
Reader path
How to use this article
- Use it when: You need a bounded proof before changing a live environment.
- Expected result: This helps you decide whether a specific migration or test path is ready for production.
- Start here: Read the purpose and scope section first, then treat every command as an evidence collector—not a universal recipe.
Start here
Stock ViciBox is not a package you add to another server. It is a bootable appliance ISO: Phase 1 installs its base operating system onto a selected disk, then Phase 2 installs the ViciBox roles on top. This curriculum uses it only on a disposable learning VM.
The word 'stock' in this lesson's title matters. It means the appliance as the vendor ships it, with no custom scripts layered on top and no manual package substitutions — the same baseline every reader of this curriculum can reproduce from the same official ISO, which is what makes the samples in this stage's lessons comparable across different readers' labs.
Visual walkthrough
Follow three real demo screens
Captured on an isolated VICIdial demo: Administration screens on September 24, 2026, and the idle Agent screen on August 11, 2026. Each caption states its own capture time, and every sanitized image helps you recognize a related screen; none proves that this article's call, command, or result occurred.Start at Administration home
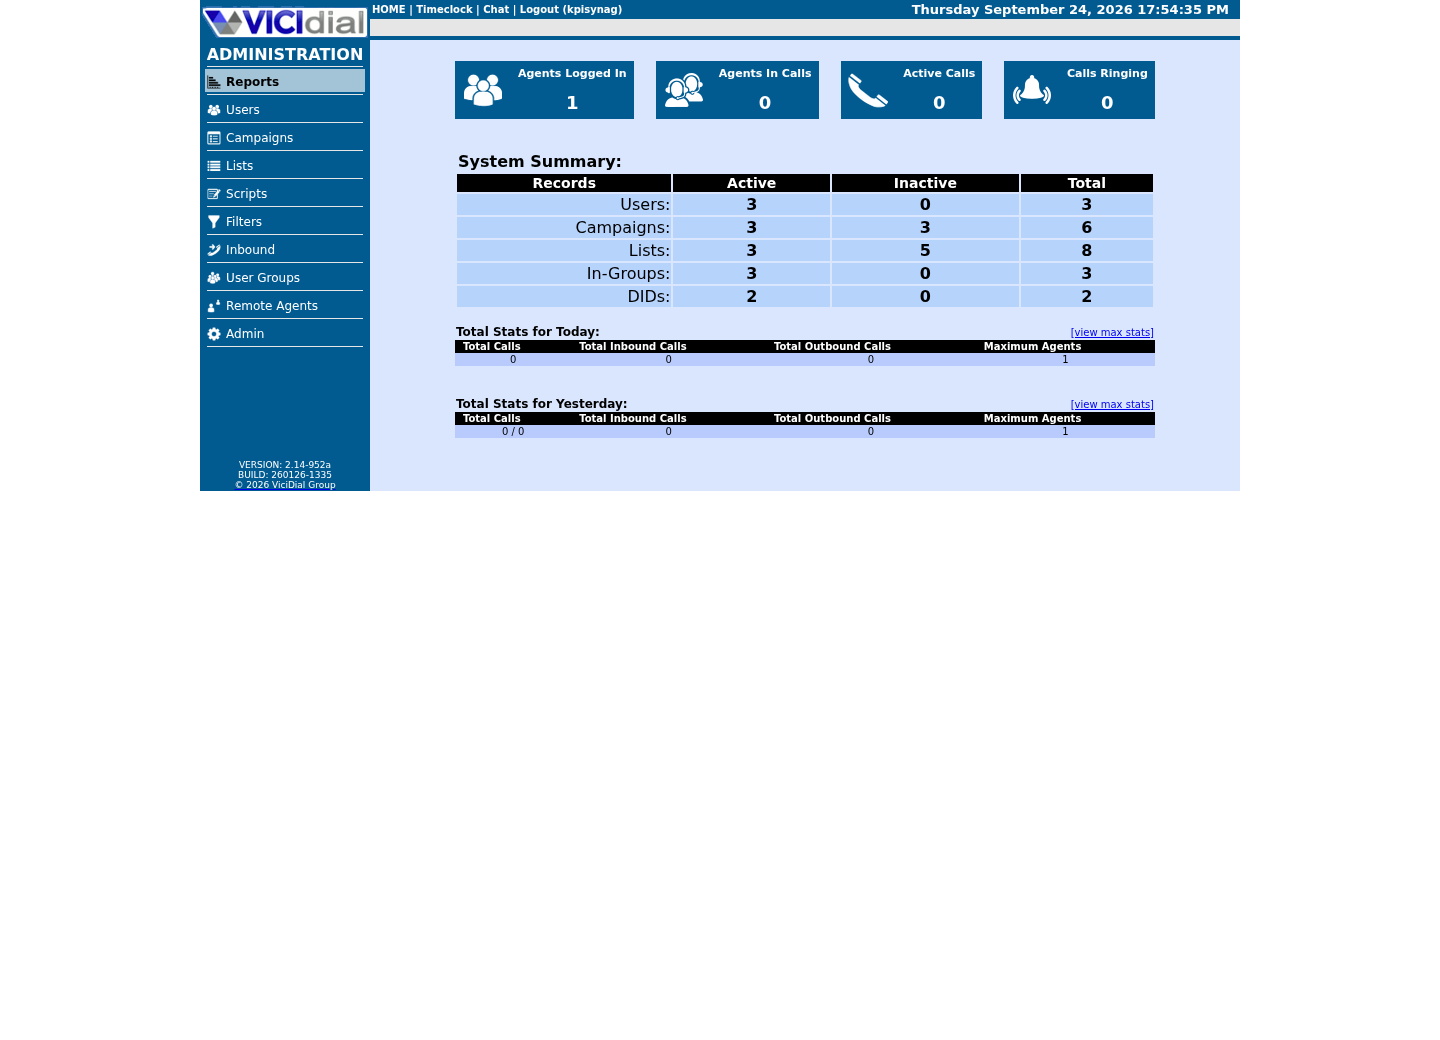
Use the Administration menu as a map
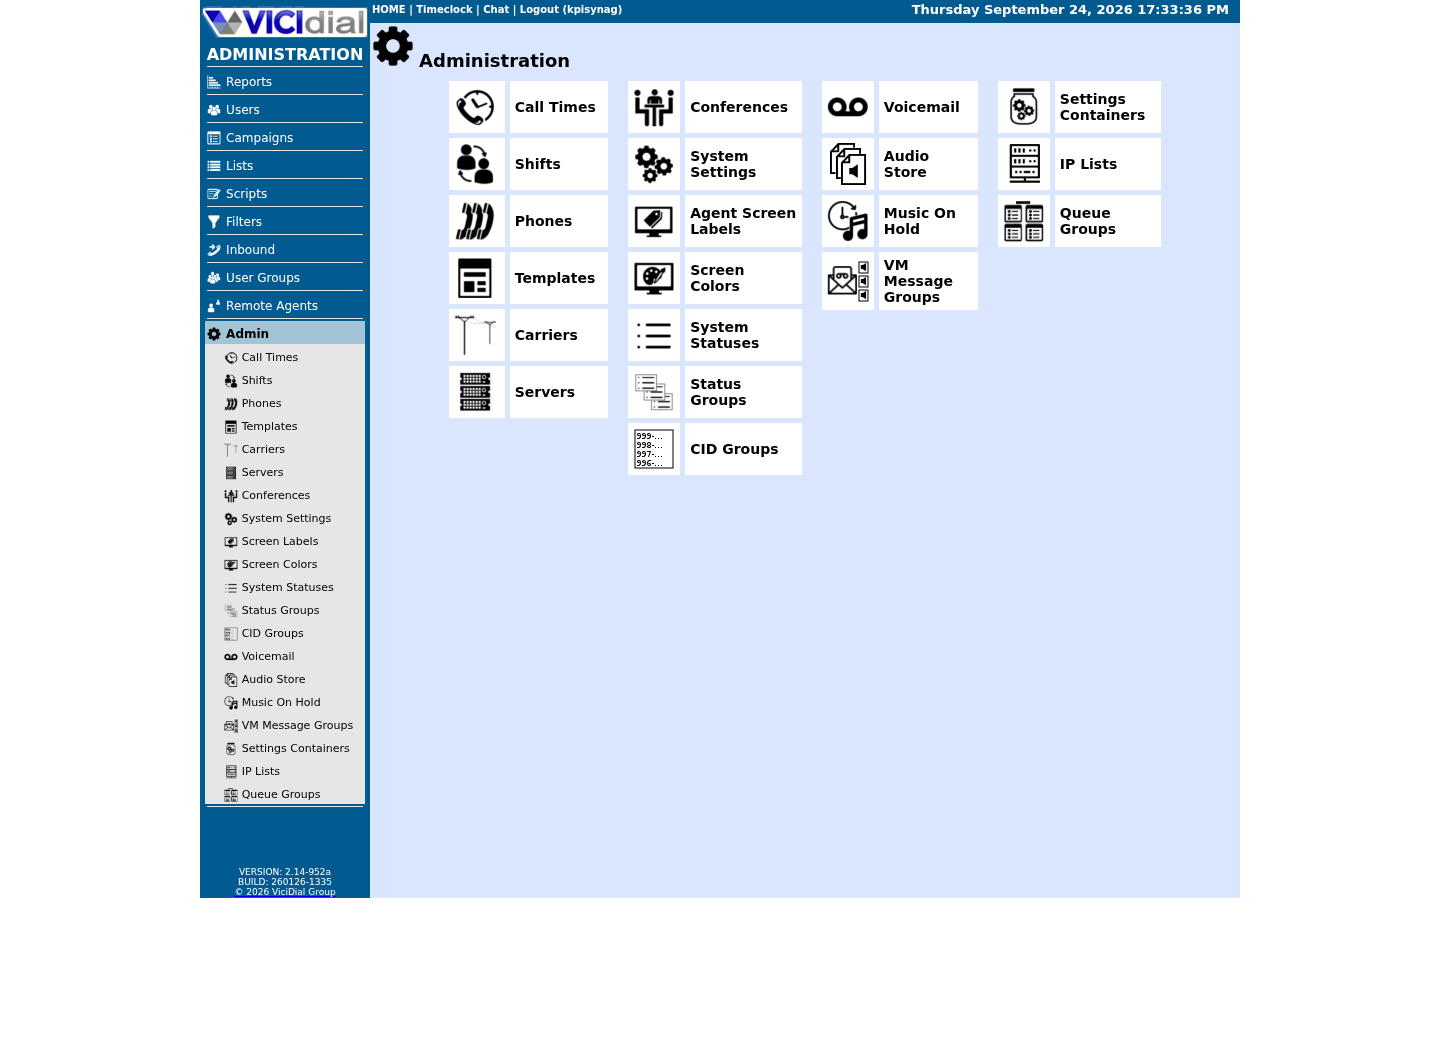
Confirm version and system-wide context
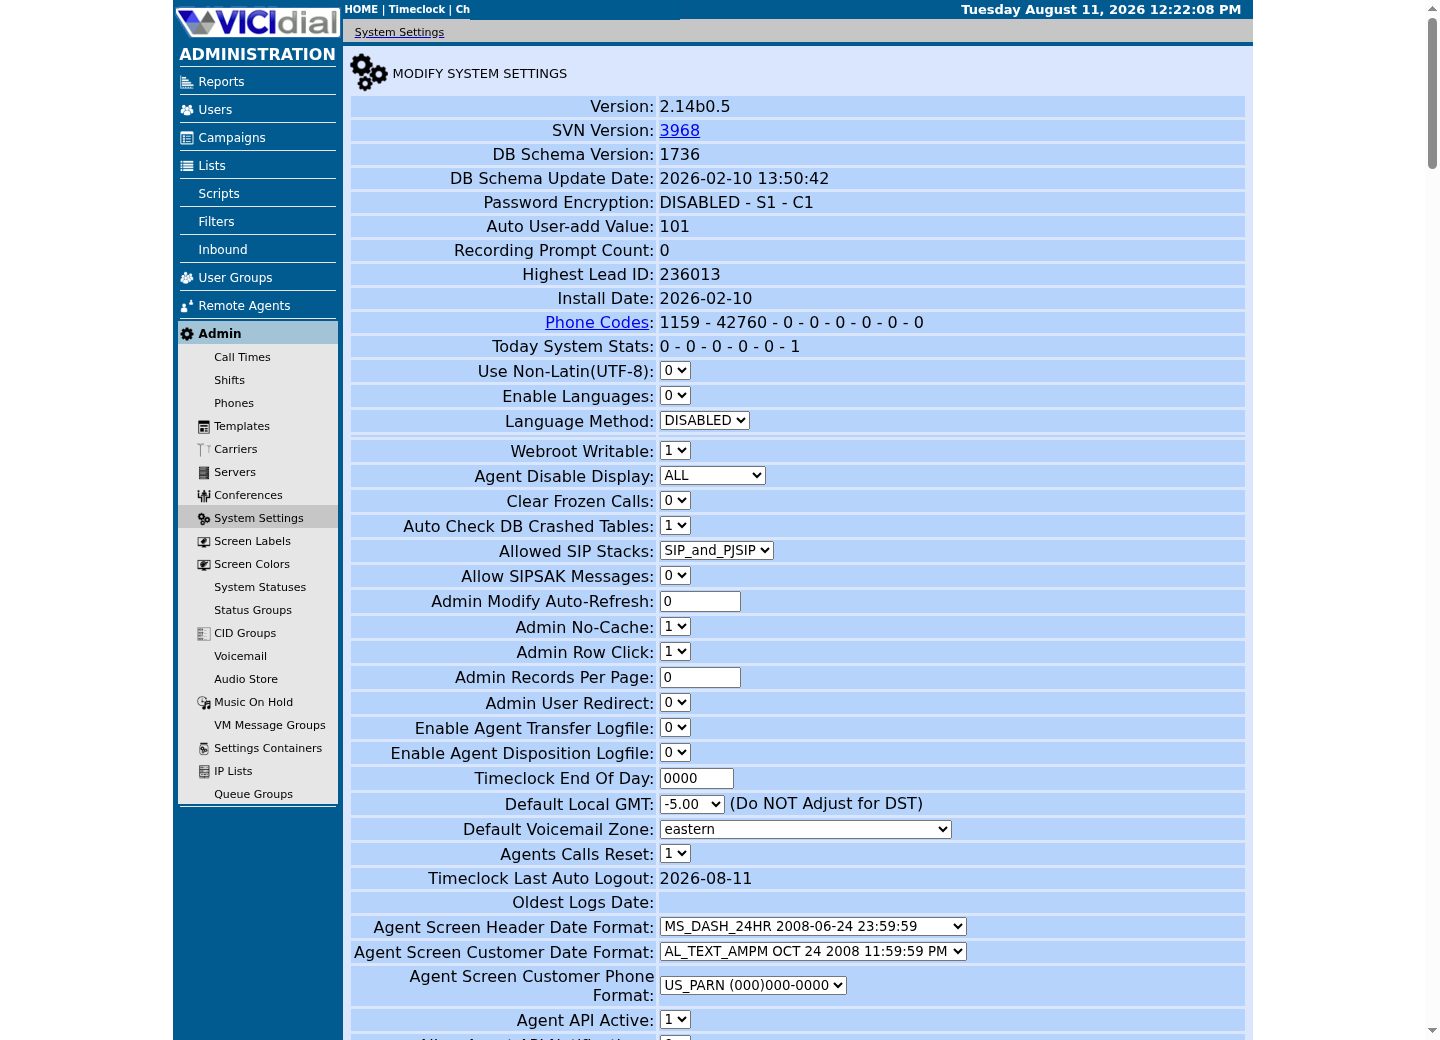
The idea in plain language
A VM console is the virtual keyboard and screen attached before networking is configured. Phase 1 happens there and can erase a disk. Phase 2 configures either the single-server Express role this curriculum follows, or a multi-server cluster role that needs a separate, reviewed design.
Splitting the work into two phases is a deliberate design choice, not an accident of how the ISO happened to be built: Phase 1 answers questions about the machine itself — which disk, what hostname, what root password — while Phase 2 answers questions about the telephony role that machine will play. Keeping those two decisions apart means a mistake in one does not force you to redo the other.
A cluster role, mentioned above only to set it aside, spreads the same responsibilities Express keeps on one machine across several: a database server, one or more telephony servers, and a web server, each configured to trust and reach the others. That is a legitimate production pattern, but it multiplies the number of things that have to be individually correct and mutually consistent, which is exactly the added complexity a first lab should avoid.
What this curriculum does not give you
This curriculum does not publish a production install path. ViciBox 12's base is past end of life and ViciBox 13 is beta, so everything here builds a disposable lab. For a supported production deployment, follow the vendor's current guidance at vicidial.com — and re-check the ViciBox errata, because this boundary is dated.
The version-status lesson in this stage dates that boundary precisely and tracks ViciBox 13's progress out of beta; read it before deciding whether this limit still applies to you.
Stating this gap here, once, rather than burying it in a footnote, is a deliberate editorial choice. A reader who works through this entire stage deserves to know upfront that the destination is a lab, not a production deployment plan — that expectation should be set before you invest an afternoon following Phase 1 and Phase 2, not discovered afterward.
This paragraph is stated exactly once in this entire curriculum, here. Later lessons in this stage link back to it rather than repeating the argument, so if you skipped ahead and are missing this context, this is the one place to come back to.
If your own goals genuinely require a production-supported deployment today, that is a legitimate reason to stop reading this stage and go straight to the vendor's current guidance instead. Nothing about the rest of this curriculum penalizes making that choice — it simply is not the path the following lessons walk through.
Confirm your lab VM has enough room to work with
Before attaching an installer ISO, confirm the VM itself has enough CPU and memory to run a telephony stack without behaving strangely in ways that look like configuration bugs but are really resource starvation. A dialer and a database competing for a single overcommitted CPU core can produce symptoms — slow page loads, laggy CLI responses — that look exactly like a software fault but disappear the moment you give the VM more room.
This check costs nothing and takes seconds, which is exactly why it belongs before an installer that takes considerably longer to run. Discovering an undersized VM after Phase 1 and Phase 2 both complete means repeating both; discovering it now means adjusting a VM setting and trying again immediately.
- The CPU count this VM was actually allocated, not what you intended to allocate
- The memory total and how much is already in use before you install anything
nprocfree -hCaptured demo response · 2026-09-23 21:35 UTC. The displayed command is the command that ran; a safe subset label means it was filtered, redacted, or fixture-scoped. Replays only after you select Replay transcript.
- Before you run it
- Run this on the VM before you boot any installer ISO on it. Both commands only read current allocation.
- Success looks like
- You can record how many CPUs and how much memory the VM has, to compare against the vendor's stated minimums before you commit to an install.
- Stop if
- If either figure looks far smaller than expected, fix the VM's allocation now — undersized labs produce confusing symptoms much later, well past the point where you would think to check hardware again.
Try one safe check
Before attaching an ISO, verify that the VM you are about to boot it on is the disposable target you intended. This prints devices; it does not change them. Naming the disk correctly now, on a system you can still walk away from, is far cheaper than discovering the mistake at Phase 1's disk-selection screen, where the next action is destructive.
- The device name and size of the disk you intend to erase
- Whether any other device in the list looks like it could be confused with your intended target
lsblk -o NAME,SIZE,TYPE,MOUNTPOINTSCaptured demo response · 2026-09-23 21:35 UTC. The displayed command is the command that ran; a safe subset label means it was filtered, redacted, or fixture-scoped. Replays only after you select Replay transcript.
- Before you run it
- Run this on the VM before booting the installer. It only lists block devices.
- Success looks like
- You can identify the VM's disk by name and size, and confirm it holds no data you need before Phase 1 can touch it.
- Stop if
- If you cannot positively identify which listed device is the disposable one, stop and resolve that before booting the installer — Phase 1 gives you exactly one confirmation prompt on this decision.
Ready for the next lesson
Continue to the Phase 1 lab checklist next. Do not boot the installer ISO until your target-disk decision from this lesson is written down. The next lesson assumes you already know which device you are about to erase — it does not repeat this check.
Evidence ledger
Verification basis
- ViciBox documents installation as a Phase 1 base operating system setup followed by a Phase 2 role install.
Primary references
Sources
- Installation — ViciBox 12.0 documentationViciBox · accessed September 23, 2026
- Phase 1 — ViciBox 12.0 documentationViciBox · accessed September 23, 2026
- Express Box — ViciBox 12.0 documentationViciBox · accessed September 23, 2026
- ViciBox 12.0 bug fixes — ViciBox 12.0 documentationViciBox · accessed September 23, 2026