Reader setup
Before you apply
Use the lab result as evidence scope, not a universal recipe.
- A disposable VM
- Completion of the ViciBox version-status lesson
- A verified ViciBox ISO from the official download path
- What you will prove
- You can complete or observe Phase 1 in a lab, avoid the installer's own root-password shortcut outside that lab, and know exactly where to stop if disk selection is unclear.
- Safety boundary
- The selected disk is erased. If the installer shows an unexpected disk or you are unsure, power off the lab and stop — do not select a different entry.
Reader path
How to use this article
- Use it when: You need a bounded proof before changing a live environment.
- Expected result: This helps you decide whether a specific migration or test path is ready for production.
- Start here: Read the purpose and scope section first, then treat every command as an evidence collector—not a universal recipe.
Start here
Phase 1 is the destructive part of the ViciBox lab: boot the official ISO, select only your disposable VM's disk, complete the first-root-login wizard, then reboot from the installed disk. Every step below assumes a lab you are allowed to wipe.
Everything in this checklist happens before VICIdial itself enters the picture at all. Phase 1 knows nothing about campaigns, agents, or Asterisk — it is purely the base operating system going onto a disk, which is exactly why its one dangerous decision is a disk, not a telephony setting.
That also means nothing you do wrong here can corrupt VICIdial data, because none exists yet. The worst outcome of a Phase 1 mistake is a wasted disk and a repeated install, not a damaged dialer configuration or lost call history — a comparatively forgiving place for a beginner to make a first mistake, provided the mistake is confined to a disposable VM.
Visual walkthrough
Follow three real installer screens
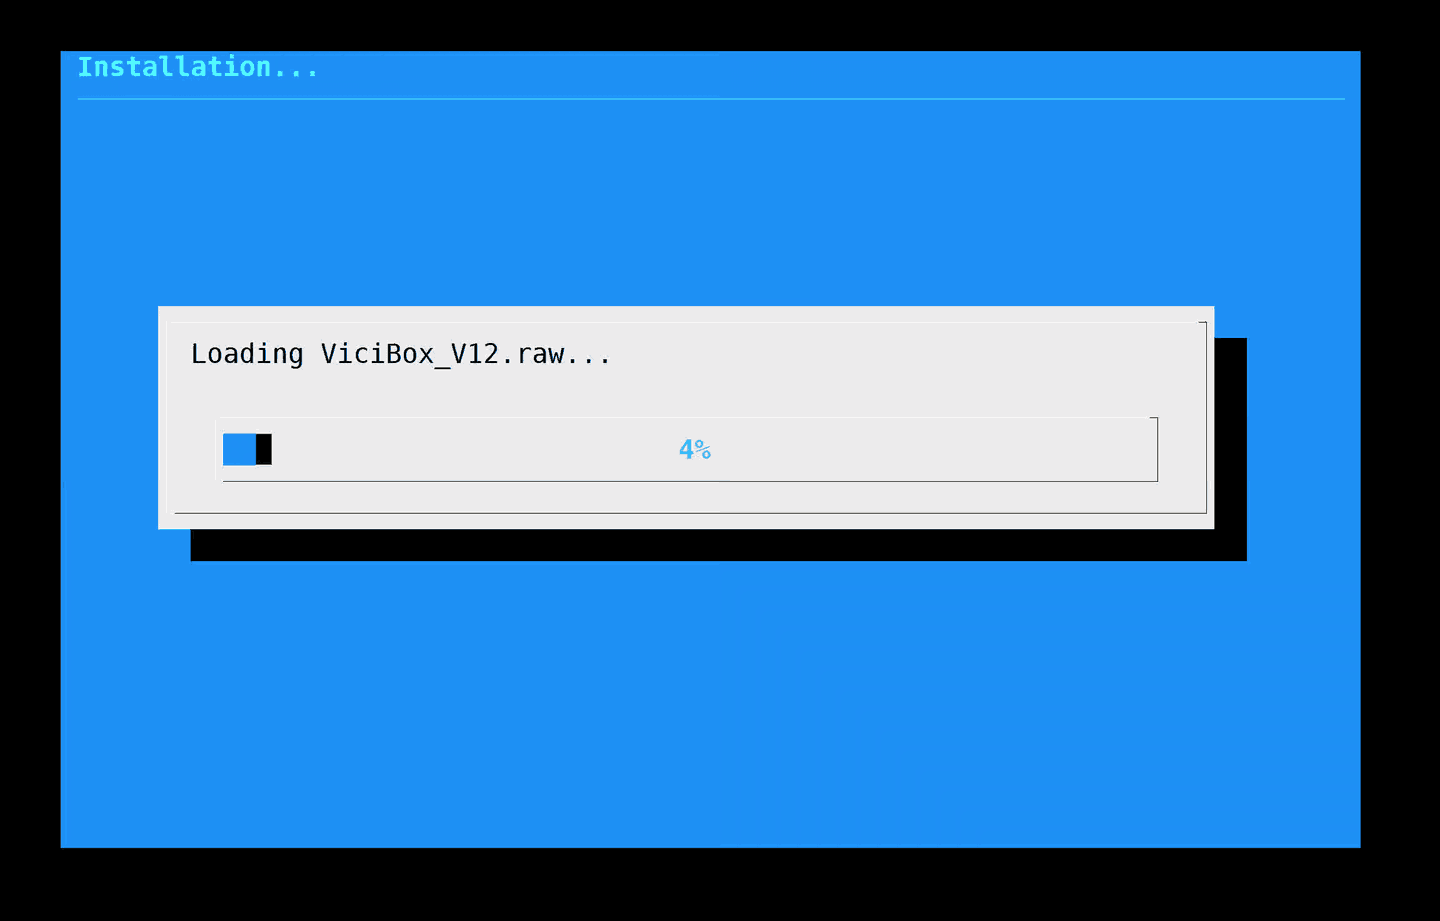
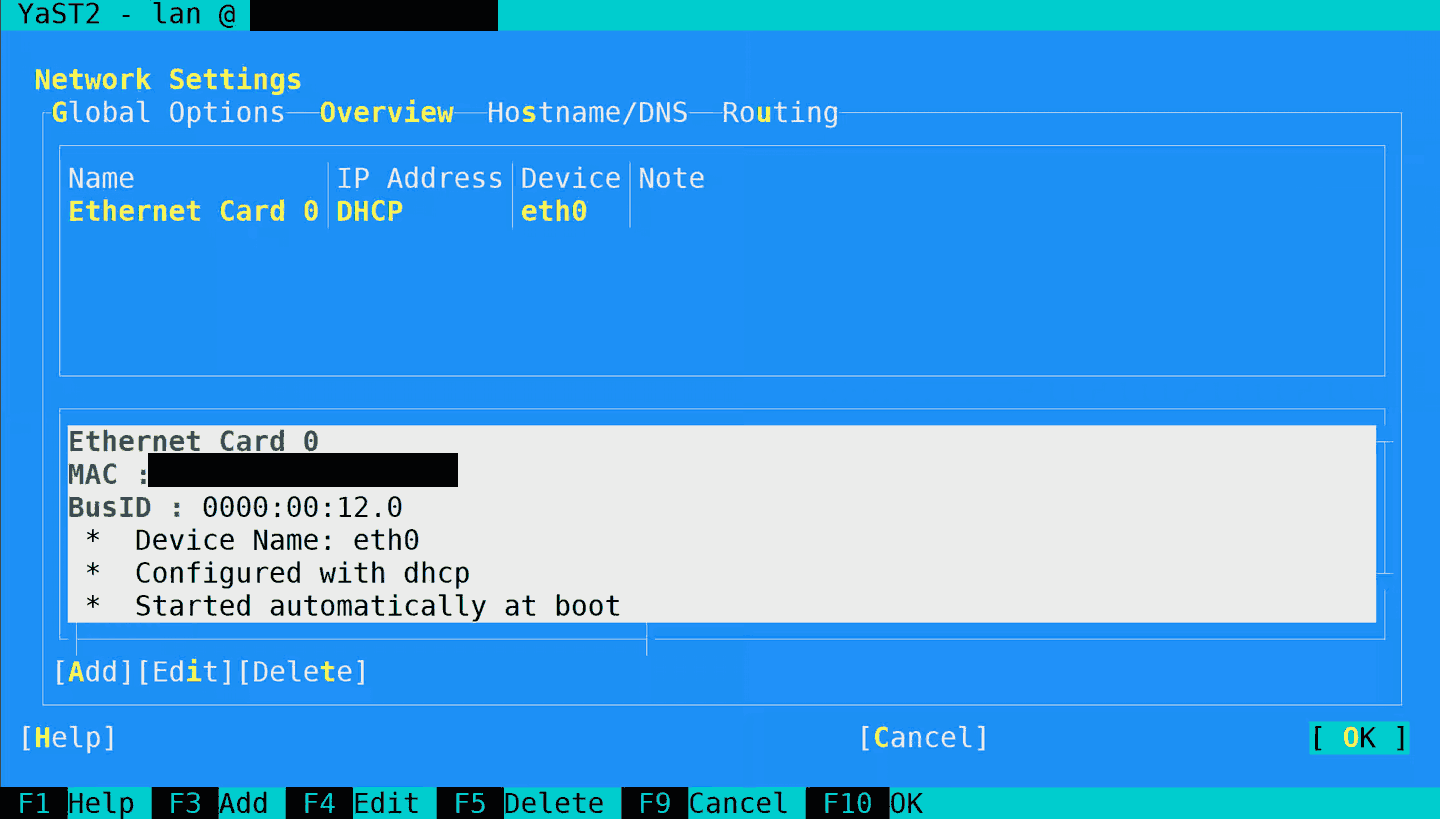
These three screens are real screenshots from the original vicigeek.com ViciBox install guide, not the isolated VICIdial demo used elsewhere on this site. Each caption states the date it was added to that guide, and every image helps you recognize a related screen; none proves that this article's exact command or result occurred on this build.Stop here if the disk is not the one you chose
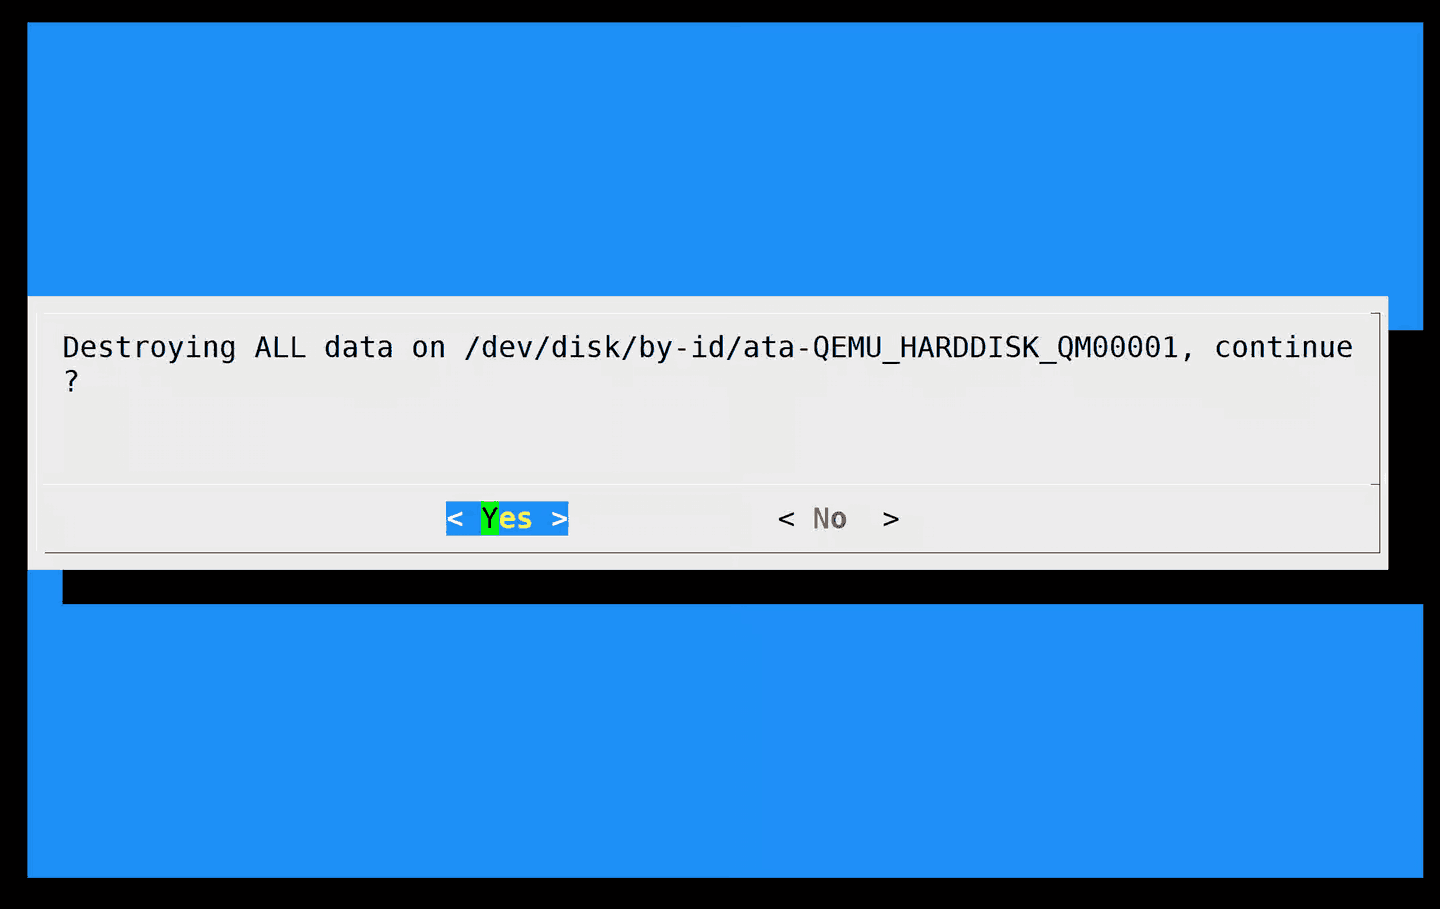
The installer writes the ViciBox image
Phase 1's network settings screen
The idea in plain language
An installer ISO cannot infer which disk is safe to erase, so its disk-selection screen is a deliberate hard stop. Treat it that way: read it twice before you confirm anything. Everything after that screen assumes the decision was made correctly, and nothing later in Phase 1 asks you to confirm it again.
The first-root-login wizard that follows disk selection is a smaller, reversible decision by comparison — a password can be changed later, but an erased disk cannot be un-erased. Keeping that asymmetry in mind is why this checklist spends more caution on the disk step than on anything that comes after it.
Boot the ISO and select the disk
Phase 1's disk-selection step ends with a confirmation dialog that destroys the selected disk's existing contents. The installer's own prompt reads to press Enter to select Yes and start the installation process — a single keypress commits to erasing whatever is on that disk, with no further confirmation and no undo.
If the installer shows a disk you do not recognize, or you are unsure which entry is your disposable VM's disk, power off the lab and stop. Do not select a different entry hoping it is the right one; re-verify from outside the installer instead — check the VM's own settings in your hypervisor, where disks are usually easier to identify by size and label than inside an installer's disk list.
Disk size is usually the fastest tiebreaker when an installer lists more than one device: a freshly created lab disk rarely matches the size of a disk holding something you actually care about, and confirming that mismatch from outside the installer costs a minute against the alternative of guessing inside it.
The first-root-login wizard, and its password shortcut
After the base install finishes, ViciBox walks you through a first-root-login configuration wizard. That wizard offers a shortcut: type `vicidial` to keep the same root password the installer used during setup.
Do not take that shortcut outside a disposable lab. A password documented in a public installer guide is not a secret, no matter how new the install is — choose a unique password for this lab instead, the same way you would on any other host.
The wizard also sets other first-boot basics beyond the password alone, such as network and locale settings appropriate to your environment. None of those carry the same one-way risk as the disk-selection screen; if you get one wrong, you can revisit it after Phase 1 finishes, which is not true of the disk you already selected.
Confirm you are actually inside a VM
Before treating this as a disposable lab, confirm the host agrees that it is virtualized — a useful sanity check if you inherited the VM definition from someone else, or if you are working from a template you did not build yourself and cannot otherwise verify. This check has nothing to do with whether Phase 1 itself succeeded; it exists purely to confirm the assumption this entire checklist rests on.
systemd-detect-virtCaptured demo response · 2026-09-23 21:35 UTC. The displayed command is the command that ran; a safe subset label means it was filtered, redacted, or fixture-scoped. Replays only after you select Replay transcript.
- Before you run it
- Run this at the first shell after Phase 1 completes. It only queries the platform; it changes nothing.
- Success looks like
- The command names a recognized hypervisor. Confirm the result matches the hypervisor you actually used to create this lab.
- Stop if
- A result of `none` on a host you believe is a VM is worth investigating before you treat anything on it as disposable — you may be looking at different hardware than you intended.
Verify first login
At the first shell after Phase 1, confirm the hostname and the mounted root filesystem before considering Phase 2. Phase 1 is finished once you see a root prompt showing the hostname you chose during setup — for example `<hostname>:~ #` — which is itself one more confirmation you are on the host you expect, since a hostname you did not choose would show up there immediately.
- The hostname reported, against what you expected to see
- Which device `/` is mounted from, confirming it is the disk you selected
hostnamectl --staticfindmnt /Captured demo response · 2026-09-23 21:35 UTC. The displayed command is the command that ran; a safe subset label means it was filtered, redacted, or fixture-scoped. Replays only after you select Replay transcript.
- Before you run it
- Run this at the first shell after Phase 1. Neither command changes configuration.
- Success looks like
- The host reports the expected lab hostname, and `/` is mounted from the disk you selected during installation.
- Stop if
- If the hostname or mounted device looks unexpected, stop before Phase 2 and reconcile it with what you selected during disk selection.
Ready for the next lesson
Proceed to the Express lab explanation next if you want a single-node lab; a cluster role needs a separate, reviewed design and is out of scope here. The hostname and root password you set in this lesson carry forward unchanged into Phase 2 — nothing in the next lesson asks you to redo Phase 1's decisions.
Evidence ledger
Verification basis
- ViciBox's own Phase 1 documentation requires selecting a disk and completing a first-root-login configuration wizard, matching what this checklist walks through.
Primary references
Sources
- Phase 1 — ViciBox 12.0 documentationViciBox · accessed September 23, 2026
- Installation — ViciBox 12.0 documentationViciBox · accessed September 23, 2026
- Closing Out a Roughly 8-Year EraopenSUSE News · accessed September 23, 2026