Reader setup
Before you evaluate
Use this to set expectations, limits and implementation boundaries before changing anything.
- The VoIP-basics and SIP-basics lessons, and the VICIdial terminology lesson
- Basic IP and DNS understanding
- No carrier credentials in this lesson
- What you will prove
- You can confirm your own build's PJSIP transport and listening port from two independent commands before writing any carrier or firewall rule.
- Safety boundary
- Never paste a trunk password, private key, caller data, or recording into a guide, ticket, or chat.
Reader path
How to use this article
- Use it when: You are designing a change and want reliable limits before implementation.
- Expected result: Separate what is known, unknown, and unsafe before you execute.
- Start here: Use it as an evidence review before changing architecture, security, or reporting behavior.
Start here
Before you configure a real carrier, confirm — on your own build — which transport your SIP stack is actually using and which port it is bound to. Do not assume a fixed number from any guide, including this one.
This lesson is short by design: it is a recap and a gate, not a fresh glossary. If you have not yet read the VoIP-basics and SIP-basics lessons earlier in this path, do that first — the two checks below assume you already know what a transport and a listening port are.
This is also the last lesson before this curriculum's optional carrier stage. Everything up to here has worked with no carrier, no DID, and no real phone number. Once you continue past this lesson, that changes — which is exactly why the two checks below exist as a deliberate pause before that change.
Notice that this stage is optional in this curriculum's own structure, unlike everything before it. Reaching a working VICIdial administration skill set does not require a real carrier at all; connecting one is a separate decision with its own cost, compliance and authorization requirements that this lesson does not attempt to grant.
The first-agent-call lesson earlier in the required path already demonstrated a real, working call using an internal test destination — proof that the dialer stack itself functions end to end. What a carrier adds beyond that is reachability to and from the public telephone network, which is a meaningfully larger commitment than anything asked of you so far.
Nothing in this lesson's two checks depends on which carrier you eventually choose, or whether you choose one at all. They read this build's own configuration, which is exactly why they belong here, at the boundary, rather than inside any specific carrier's own setup lesson.
Visual walkthrough
Follow three real demo screens
Captured on an isolated VICIdial demo: Administration screens on September 24, 2026, and the idle Agent screen on August 11, 2026. Each caption states its own capture time, and every sanitized image helps you recognize a related screen; none proves that this article's call, command, or result occurred.Find carrier administration
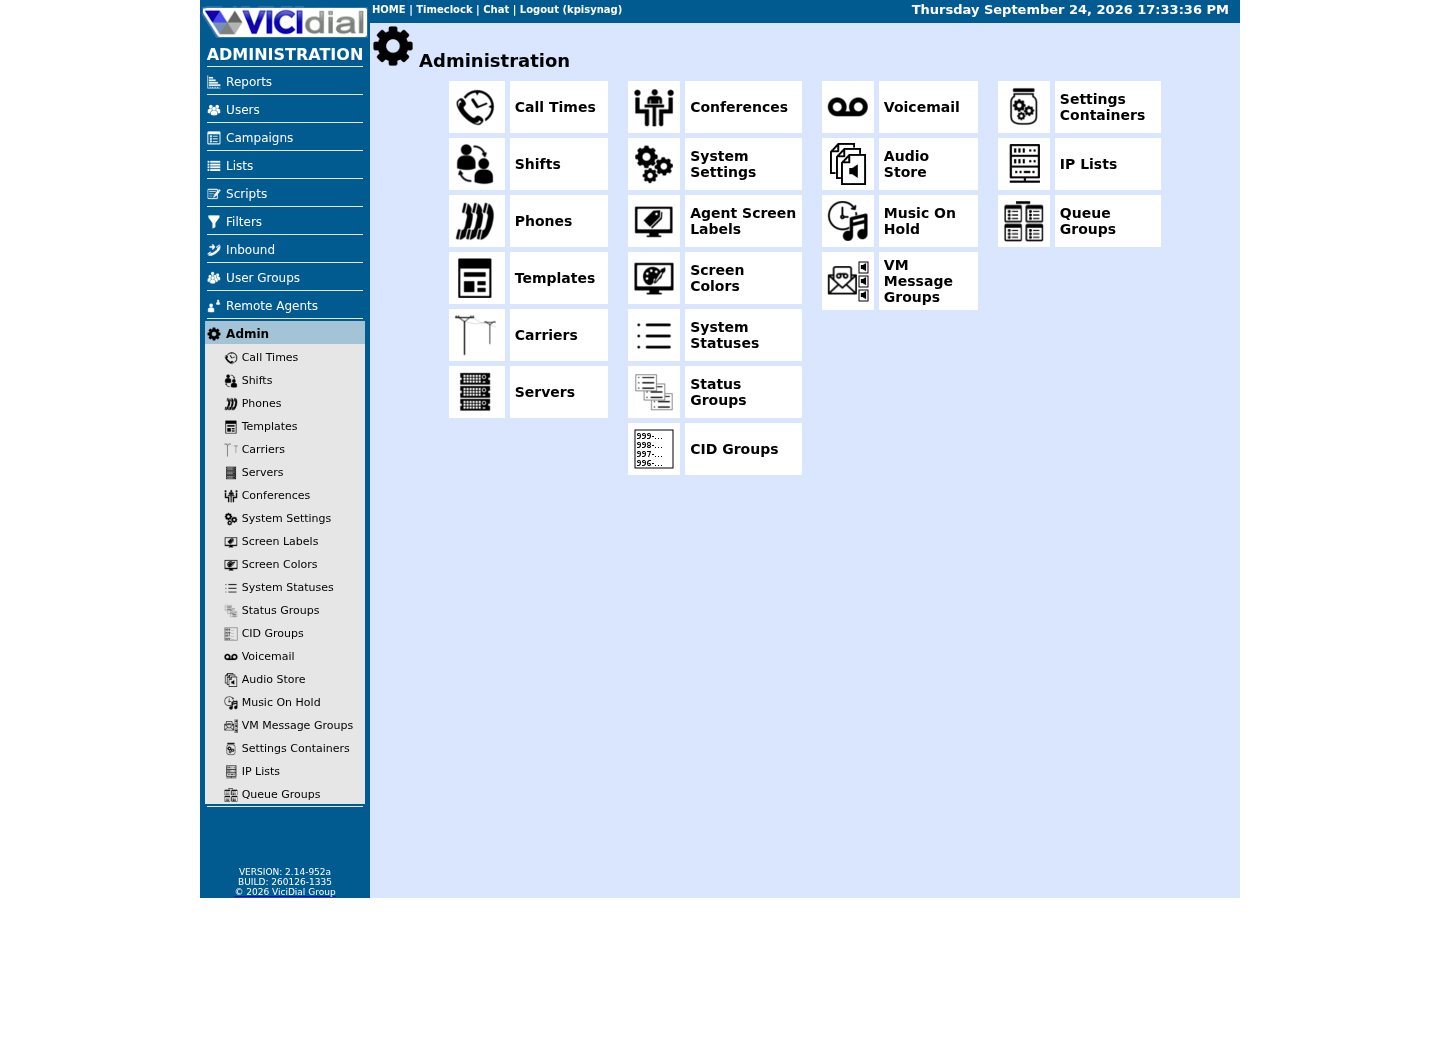
Open Carrier Listings
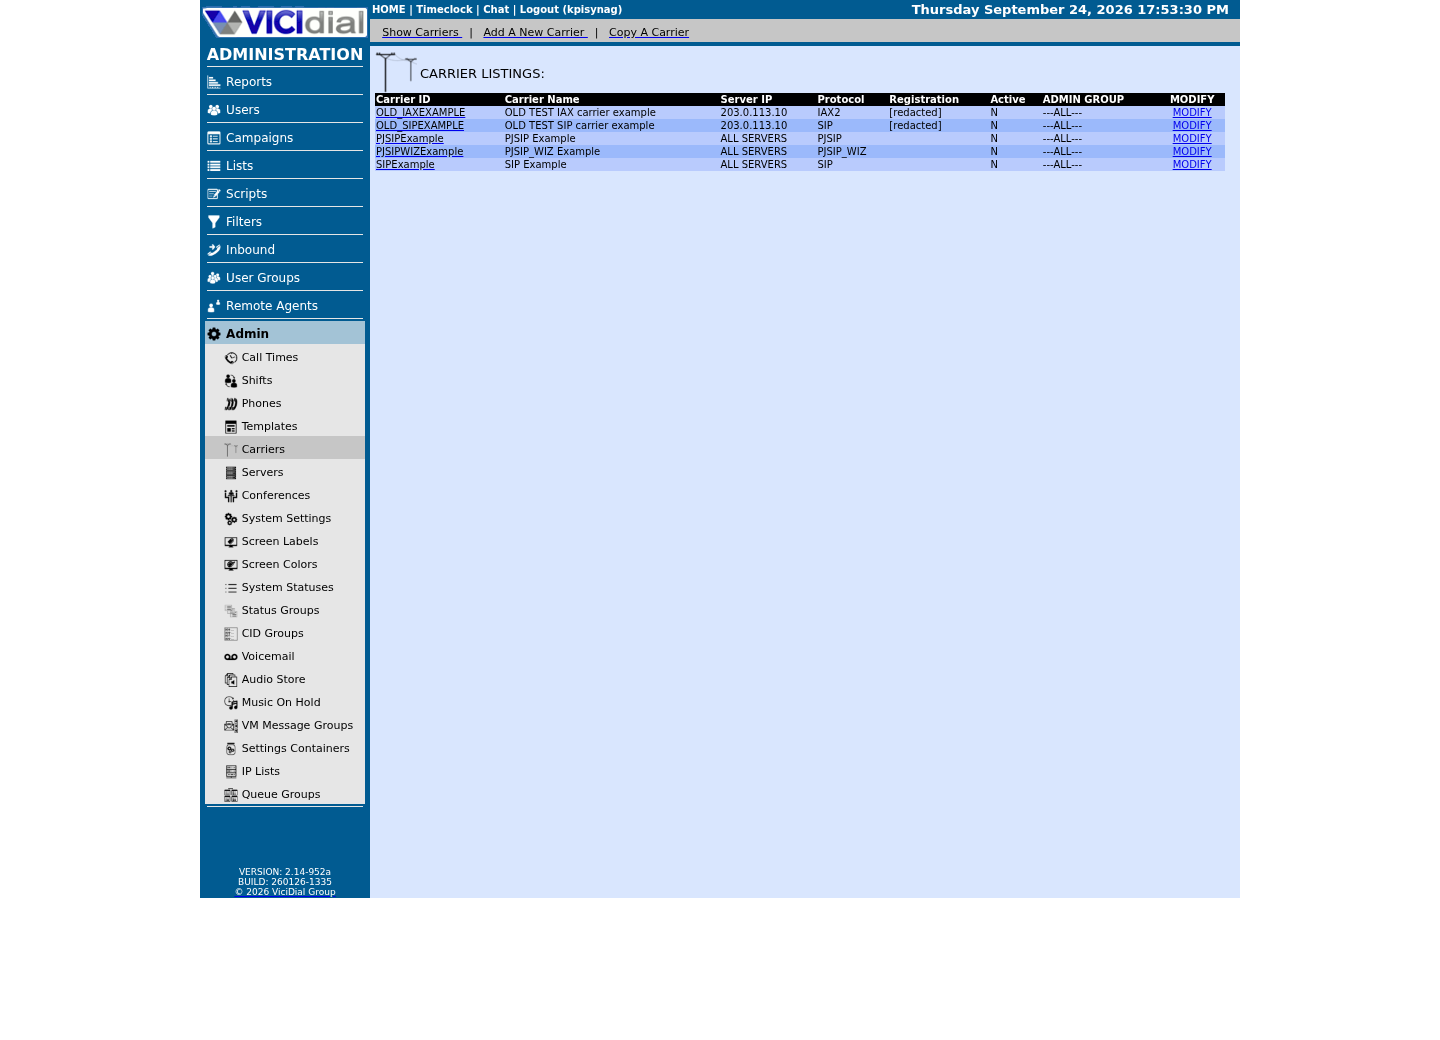
Check the allowed SIP-stack setting
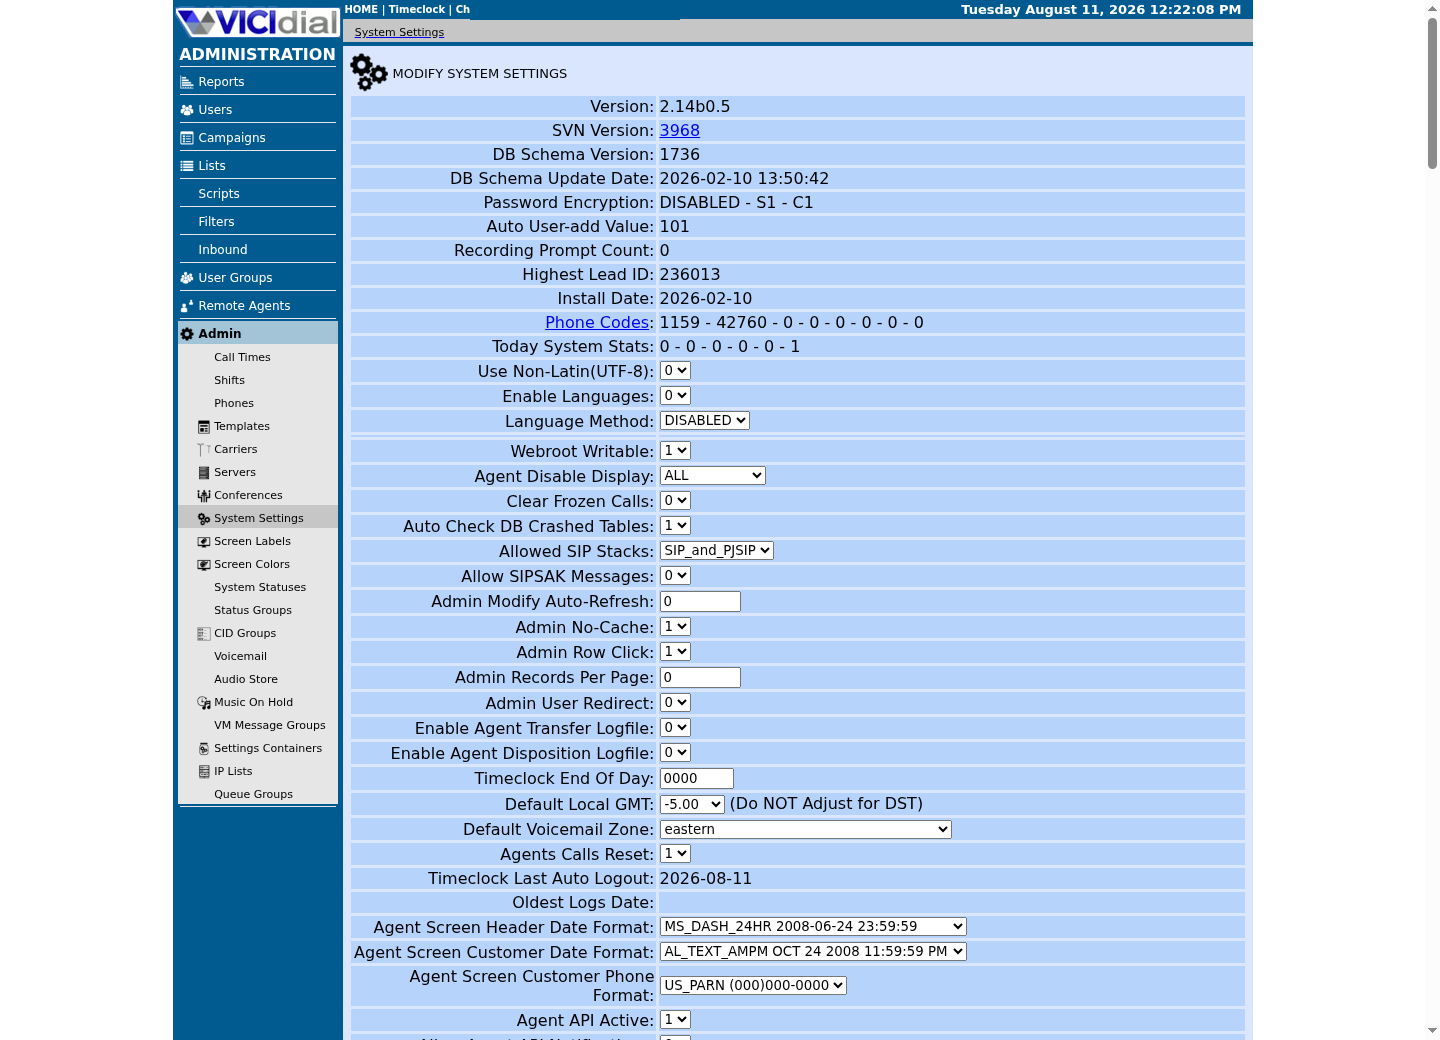
The idea in plain language
This lesson assumes you already read the VoIP-basics and SIP-basics lessons earlier in this path, which define signaling versus media, codecs, DTMF, trunks and DIDs. Those terms are used here, not re-taught. A carrier configuration fails in confusing ways when someone assumes a port or transport that their particular build does not actually use — which is why the checks below come before any carrier or firewall step, not after.
A carrier provider will typically ask you to state which port and protocol they should expect traffic on, or will tell you which port they expect to receive it from. Getting that number from your own running configuration, rather than from a remembered default, is the difference between a carrier setup that works on the first attempt and one that requires a support ticket to a provider who cannot see your server at all.
It is worth restating plainly why this lesson refuses to print a single fixed port number in its own prose: any number written down here would be true only for the exact build this curriculum happened to check on one particular day. Your own install may differ the moment someone reconfigures PJSIP, applies an update, or follows a different activation guide than this curriculum's demo did.
Confirm your transport
Ask Asterisk directly which PJSIP transport is configured and bound, rather than assuming a number from documentation written for a different build. `pjsip show transports` lists each configured transport by name, its protocol, and the address and port it is bound to — everything a firewall rule or a carrier's own configuration needs, read from the one place that cannot be out of date.
asterisk -rx 'pjsip show transports'Captured demo response · 2026-09-23 21:35 UTC. The displayed command is the command that ran; a safe subset label means it was filtered, redacted, or fixture-scoped. Replays only after you select Replay transcript.
- Before you run it
- Run this on your lab before writing any firewall or carrier rule. It only queries the running configuration.
- Success looks like
- On this build, transport-udp is bound to 0.0.0.0:5061, and the listing also includes transport-wss — the WebRTC transport — alongside it. Treat 5061 as this lab's current value, not a universal VICIdial default. Whatever your own output shows is the number to use in every rule that follows, not the one printed here.
- Stop if
- If the command reports no transports at all, PJSIP itself is not configured yet; resolve that before attempting any carrier work.
Confirm the listening port from the network side too
Cross-check the previous result against what the operating system itself reports listening, so a firewall rule is based on two independent confirmations rather than one. `ss` reports the kernel's own socket table; filtering it to the asterisk process name confirms not just that a port is open, but that the specific process you care about is the one holding it open.
ss -lnup | grep asteriskCaptured demo response · 2026-09-23 21:35 UTC. The displayed command is the command that ran; a safe subset label means it was filtered, redacted, or fixture-scoped. Replays only after you select Replay transcript.
- Before you run it
- Run this on the lab host. This only reads the kernel's socket table.
- Success looks like
- Expect several Asterisk UDP listeners on this build, not just one — chan_sip and PJSIP bind separate ports from each other, alongside others Asterisk opens for its own purposes. Match the one `pjsip show transports` reported in the previous step; on this build that is 5061, while 5060 there is chan_sip, not PJSIP. A listener on any of these ports is not itself suspicious; investigate a listener you cannot account for, rather than treating a specific number as an intrusion marker.
- Stop if
- If the two commands disagree, trust `pjsip show transports` for what Asterisk believes it bound to, and treat the mismatch itself as worth investigating before writing a firewall rule.
Map your own network path
Confirm the lab's own IP addressing and routing before any SIP configuration. This is diagnostic only. A carrier trunk depends on your server's address being reachable, and its route out being the one you expect — a lab with two network interfaces, or an unexpected default route, is worth understanding before a carrier's signaling starts arriving somewhere you did not plan for.
ip -brief addressip routeCaptured demo response · 2026-09-23 21:35 UTC. The displayed command is the command that ran; a safe subset label means it was filtered, redacted, or fixture-scoped. Replays only after you select Replay transcript.
- Before you run it
- Run this on the lab host. Neither command changes network settings.
- Success looks like
- You can identify the lab's interface address and default route without guessing.
- Stop if
- Stop if the command reports an interface or route you cannot account for; resolve that before connecting any carrier.
Ready for the next lesson
Only after you have approved carrier credentials and authority should you continue to the SIP carrier setup lesson. Bring the transport, port and network-path values you just confirmed — the carrier lesson asks for exactly these three when it builds its first trunk configuration.
Evidence ledger
Verification basis
- Both verification samples query the running Asterisk instance and the kernel's own socket table directly, rather than asserting a port number from documentation.
Primary references
Sources
- VICIdial open source contact center suiteVICIdial Group · accessed September 23, 2026